

Taking on a full-home remodeling project is one of the most significant investments a property owner will ever make. Whether converting an older fixer-upper into a tailored personal sanctuary or updating an aging family property to meet modern standards, managing multiple trades, material deliveries, and overlapping schedules can quickly become overwhelming. Without a clear master roadmap, projects often suffer from costly rework, frustrating delays, and budget overruns. For example, installing new hardwood floors before replacing leaky plumbing lines or painting walls before drywall dust clears can ruin brand-new upgrades in a matter of hours.
A successful whole-home renovation depends heavily on logical construction sequencing. Every phase of construction builds directly upon the foundation of the previous step. Knowing which phase comes first allows homeowners to coordinate trade workers effectively, manage lead times for custom materials, and keep stress levels manageable throughout the build. This comprehensive master timeline outlines the exact sequence required to complete a whole-home overhaul efficiently, protecting both the financial investment and the physical structure of the residence. Planning carefully before breaking ground guarantees that structural integrity, mechanical systems, and interior aesthetic details fit together exactly as intended. Planning carefully keeps trade workers safe and prevents unnecessary project delays.
Phase 1: Planning, Permitting, and Major Structural Expansions
Every major home transformation begins long before any physical work starts on the property. The initial phase centers entirely on design development, budgeting, securing municipal permits, and defining the exact scope of work. Property owners must consult architects, structural engineers, and building specialists to map out floor plans, review load-bearing walls, and confirm structural safety. Skipping this foundational step often leads to code violations, stop-work orders, or structural surprises mid-project that can derail the entire budget.
Once initial blueprints earn municipal approval, physical construction begins with major structural additions or footprint modifications. If the project involves expanding the house footprint, building out a second-story addition, or constructing a sunroom, heavy exterior construction takes precedence. Engaging licensed home addition contractors during this initial phase ensures that foundations are poured correctly, structural framing is erected safely, and new rooflines are securely integrated into the existing building. Completing exterior structural expansion first protects the home interior from weather exposure before demolition inside the main house begins. This proactive strategy keeps construction timelines predictable and manageable.
During this phase, homeowners should also place advance orders for long-lead items like specialty windows, exterior doors, and custom architectural elements. Ordering early prevents trade workers from standing idle while waiting for deliveries weeks down the road. Establishing clear site access pathways and designated staging areas for lumber and heavy equipment will keep the property organized as construction moves inside.
Phase 2: Interior Demolition, Site Prep, and Waste Management
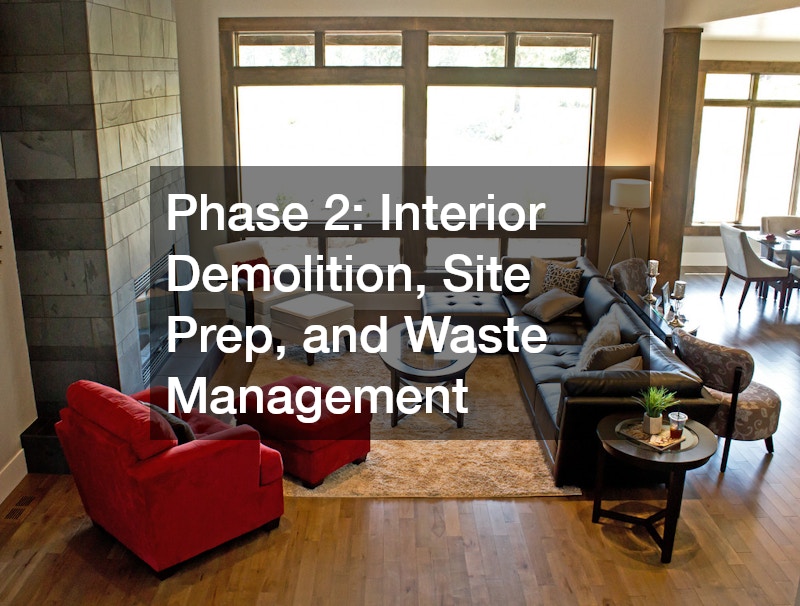
With structural additions framed and protected from exterior weather elements, construction focus shifts to stripping back existing interior spaces. Demolition is fast-paced and messy, requiring strict safety protocols to protect workers, existing utilities, and structural members that are staying. Interior non-load-bearing walls are removed, old flooring is pulled up, outdated plumbing fixtures are detached, and damaged plaster or drywall is hauled away. Demolition must reveal the bare wall studs and subflooring so trade professionals can inspect the hidden structural framing, electrical runs, and plumbing lines.
Managing construction debris is a critical yet frequently overlooked element of this stage. Demolition generates thousands of pounds of old materials, including broken concrete, tile, heavy wood framing, and metal piping. Coordinating regular trash pickup services or placing large roll-off dumpsters on the site prevents hazardous waste accumulation, which reduces safety hazards for working crews. A clean workspace ensures tradespeople can move freely, measure accurately, and work efficiently without navigating dangerous piles of refuse. Proper site sanitation minimizes delays and maintains crew productivity daily.
Demolition is also the exact moment when hidden structural issues are uncovered. Rotten floor joists, former water damage, pest issues, or outdated knob-and-tube electrical wiring often come to light once walls are stripped bare. The project timeline must include a buffer period at the end of demolition to address these unexpected structural or safety remediation needs before sub-trades arrive to install new systems.
Phase 3: Rough-In Plumbing, Electrical, and HVAC Systems
Once interior demolition exposes the framing, the crucial rough-in phase begins. During rough-ins, specialized sub-contractors install core functional systems inside open wall cavities, floor joists, and ceiling spaces. Heating and cooling technicians run main ductwork, set return vents, and position primary HVAC equipment. Electricians run new electrical wiring, pull circuits, set breaker panels, and install junction boxes for outlets, switches, and overhead lighting fixtures. Plumbers lay main drain lines, vent stacks, and water supply lines throughout the entire property.
Modernizing the water heating system fits logically into this phase while plumbing walls remain completely open and accessible. Upgrading to a tankless water heater offers significant long-term energy efficiency and continuous hot water delivery, but it requires specific gas supply lines or heavy-gauge electrical circuits along with dedicated exterior ventilation routes. Running these specialized infrastructure connections during rough-ins avoids expensive wall cuts or retrofitting later in the project. Positioning mechanical units early guarantees optimal structural clearance throughout.
The rough-in stage requires strict adherence to local building codes and standards. Before any insulation or drywall can seal the walls, municipal building inspectors must visit the property to review and approve the rough electrical, plumbing, and mechanical installations. Passing these official inspections provides clearance to close up wall cavities and proceed safely to internal finishing phases.
Phase 4: Insulation, Drywall, and Core Carpentry
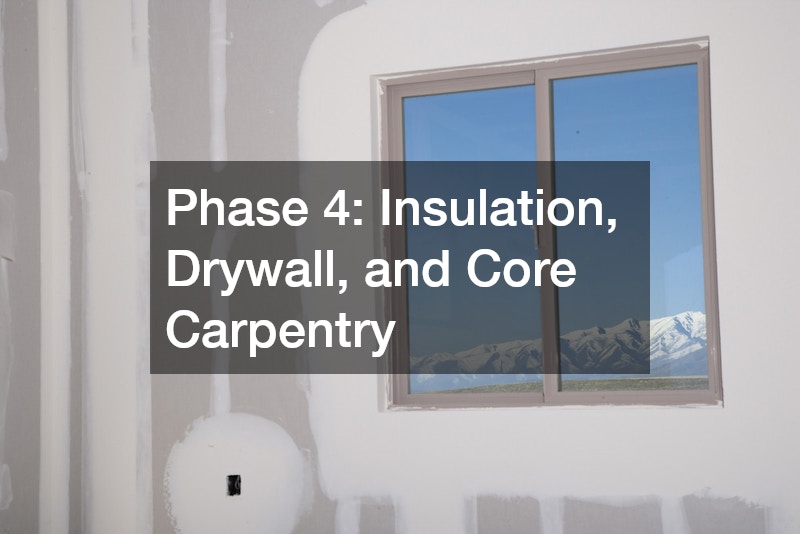
With rough-in inspections officially passed and signed off, the residence is ready to be sealed from the inside. Insulation installation comes first, filling wall cavities, ceilings, and crawl spaces with fiberglass batts, spray foam, or blown cellulose to optimize thermal efficiency and acoustic dampening. High-efficiency insulation drastically lowers future heating and cooling energy costs while stabilizing interior temperatures during subsequent construction steps.
Next comes drywall installation, commonly referred to as hanging, taping, and mudding. Drywall panels are fastened across ceilings and walls, followed by multiple coats of joint compound, taping, and extensive sanding. This process creates massive amounts of fine dust, making it vital to seal off HVAC vents to prevent dust from circulating through newly installed mechanical ductwork. Once drywall sanding is complete, subfloors are evaluated, leveled, and repaired to prepare for future flooring materials. Thorough wall preparation ensures flawless surface quality for decorative treatments.
This phase also marks the arrival of detailed trim carpentry and initial built-in storage structures. Securing high-quality custom cabinetry in key storage areas, mudrooms, or living room alcoves occurs as drywall finishes drying. Installing core cabinet framing directly against sturdy wall studs provides maximum structural stability, setting the baseline geometry for adjacent wall trims, baseboards, and subsequent countertop surfaces.
Phase 5: Wet Area Waterproofing and Specialized Tiling
Bathrooms and utility areas require specialized moisture control measures before final surface materials go in. Bathrooms are notoriously sensitive to water intrusion, meaning proper waterproofing membranes, cement backer boards, and sloped shower pans are non-negotiable construction requirements. Skipping rigorous moisture preparation in wet zones frequently results in hidden subfloor rot, structural weakening, and mold growth long after the project finishes.
Hiring an experienced bathroom remodeler ensures that complex waterproofing protocols, such as uncoupling membranes and liquid barrier coatings, are applied with absolute precision. Tile installation across shower walls, tub surrounds, and bathroom floors happens during this timeframe. Setting tile requires patience, precise layout lines, and adequate curing time for thin-set mortar and grout before heavy foot traffic resumes. Checking moisture barriers thoroughly avoids expensive structural repairs in future.
Once wet areas are fully tiled and sealed, trim carpenters return to install interior passage doors, window casings, baseboards, and decorative wall moldings throughout the house. Installing woodwork at this stage allows trim pieces to butt cleanly against newly tiled surfaces, creating sharp, professional transitions across different rooms. Completing door jambs and casing profiles before painting ensures that all wood joints can be filled and caulked cleanly for a flawless look.
Phase 6: Kitchen Upgrades, Stone Worktops, and Primary Flooring
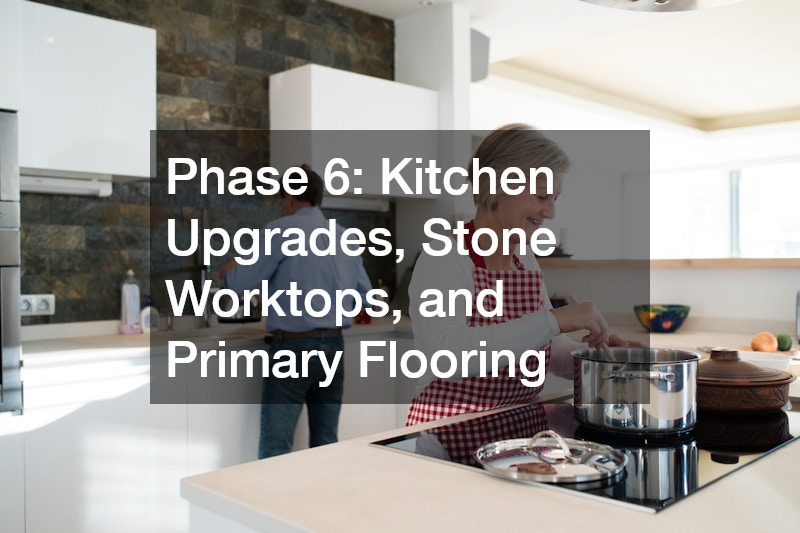
As interior construction nears completion, focus turns to main living zones and high-traffic hub spaces. Executing a major kitchen remodeling plan requires careful coordination of trade schedules, as cabinets, appliances, and work surfaces must integrate seamlessly. Kitchens represent the practical heart of the modern home, and proper layout execution dictates daily comfort, workflow efficiency, and overall property resale value.
After main kitchen cabinet frames are leveled and permanently secured, precise digital template measurements are taken for hard surface worktops. Fabrication of natural stone or engineered quartz slabs takes time, but once ready, professional installers place the solid countertop securely across lower cabinets. Sinks are under-mounted, cutouts for cooktops are verified, and backsplash tiles are set shortly thereafter. Careful stone fabrication creates pristine work surfaces that last lifetimes.
Following stone installation, permanent flooring materials such as pre-finished hardwood, luxury vinyl plank, or polished tile can be laid across the broader home layout. Installing flooring after heavy wall repair, tile cutting, and overhead drywall work minimizes the risk of dropping heavy tools on pristine new floor surfaces. Heavy protective paper or cardboard sheet covers should be laid down immediately after floor installation to safeguard surfaces from upcoming painting and finishing work.
Phase 7: Interior Painting, Plumbing Fixtures, and Electrical Trim
With primary structures, cabinets, and heavy surfaces in place, the project enters the final interior aesthetic phase. Surface preparation is crucial here; walls are wiped completely clean of remaining construction dust, small drywall imperfections are patched with spackle, and trim joint gaps are neatly caulked.
Bringing in a skilled interior painting contractor transforms the overall atmosphere of the renovated home. Professional painters apply primer coats followed by durable finish paint across ceilings, walls, doors, and architectural trim. Their systematic approach ensures crisp lines along ceiling borders and flawless coverage across broad wall expanses without leaving brush marks, lap lines, or paint drips on newly installed fixtures. Proper masking protects adjacent surfaces from stray paint overspray entirely.
Once paint coats cure completely, final mechanical fixture installations take place. Electricians install decorative light fixtures, ceiling fans, switch covers, and outlet plates. Plumbers return to connect sink faucets, mount toilets, hook up garbage disposals, and connect water supply lines to kitchen appliances. Appliance installers also set dishwashers and ranges into position, testing water and electrical connections. Final punch-list inspections verify that every light switch functions correctly, every drain flows freely, and every interior door swings smoothly without binding against carpet or flooring.
Phase 8: Exterior Grounds, Stone Features, and Landscaping Finalization

As the interior reaches perfection, work shifts outdoors to repair site wear and tear caused by heavy construction equipment, dumpster placements, and worker foot traffic. Outer grounds often sustain significant compaction and damage during whole-home renovations, requiring comprehensive exterior restoration and landscape redesign.
Installing structural outdoor features takes place first. Construction of paved walkways, stone retaining walls, patio spaces, and custom driveways requires heavy earth-moving machinery. Laying out quality hardscaping elements creates functional outdoor living areas while establishing proper surface water drainage away from the home foundation. Installing proper aggregate sub-bases for stone elements prevents soil shifting through severe weather cycles. Correct slope grading prevents rain runoff from pooling against newly installed foundation walls or home additions. Engineered drainage protects stone features and keeps turf areas healthy.
After hard structures are completed, final soil conditioning, garden bed planting, and sod installation take place. Partnering with dependable lawn maintenance providers helps establish robust watering schedules and turf care routines to ensure newly laid grass and decorative plants thrive. Lush green lawn turf completes the exterior transformation, establishing exceptional curb appeal that matches the stunning interior updates.
Key Takeaways for a Seamless Whole-Home Renovation
A whole-home renovation is a major endeavor that requires careful orchestration, patience, and clear strategic planning from initial demolition to final landscaping. By respecting the natural progression of construction – completing structural additions, utility rough-ins, and drywall work before moving to interior decorative finishes and outdoor hardscaping – homeowners protect their financial investment and avoid agonizing delays. Following a master timeline keeps trade professionals aligned, material deliveries synchronized, and construction quality consistently high. Working with skilled trades at each step ensures long-term home value. When every phase unfolds in its proper chronological order, the result is a beautifully renovated property that delivers lasting comfort, functionality, and pride of ownership for decades to come. Thoughtful project planning guarantees exceptional craftsmanship and lasting equity growth.